Map You can chose a Map block by selecting from the Add Block and selecting a Map. It will render a Google map.
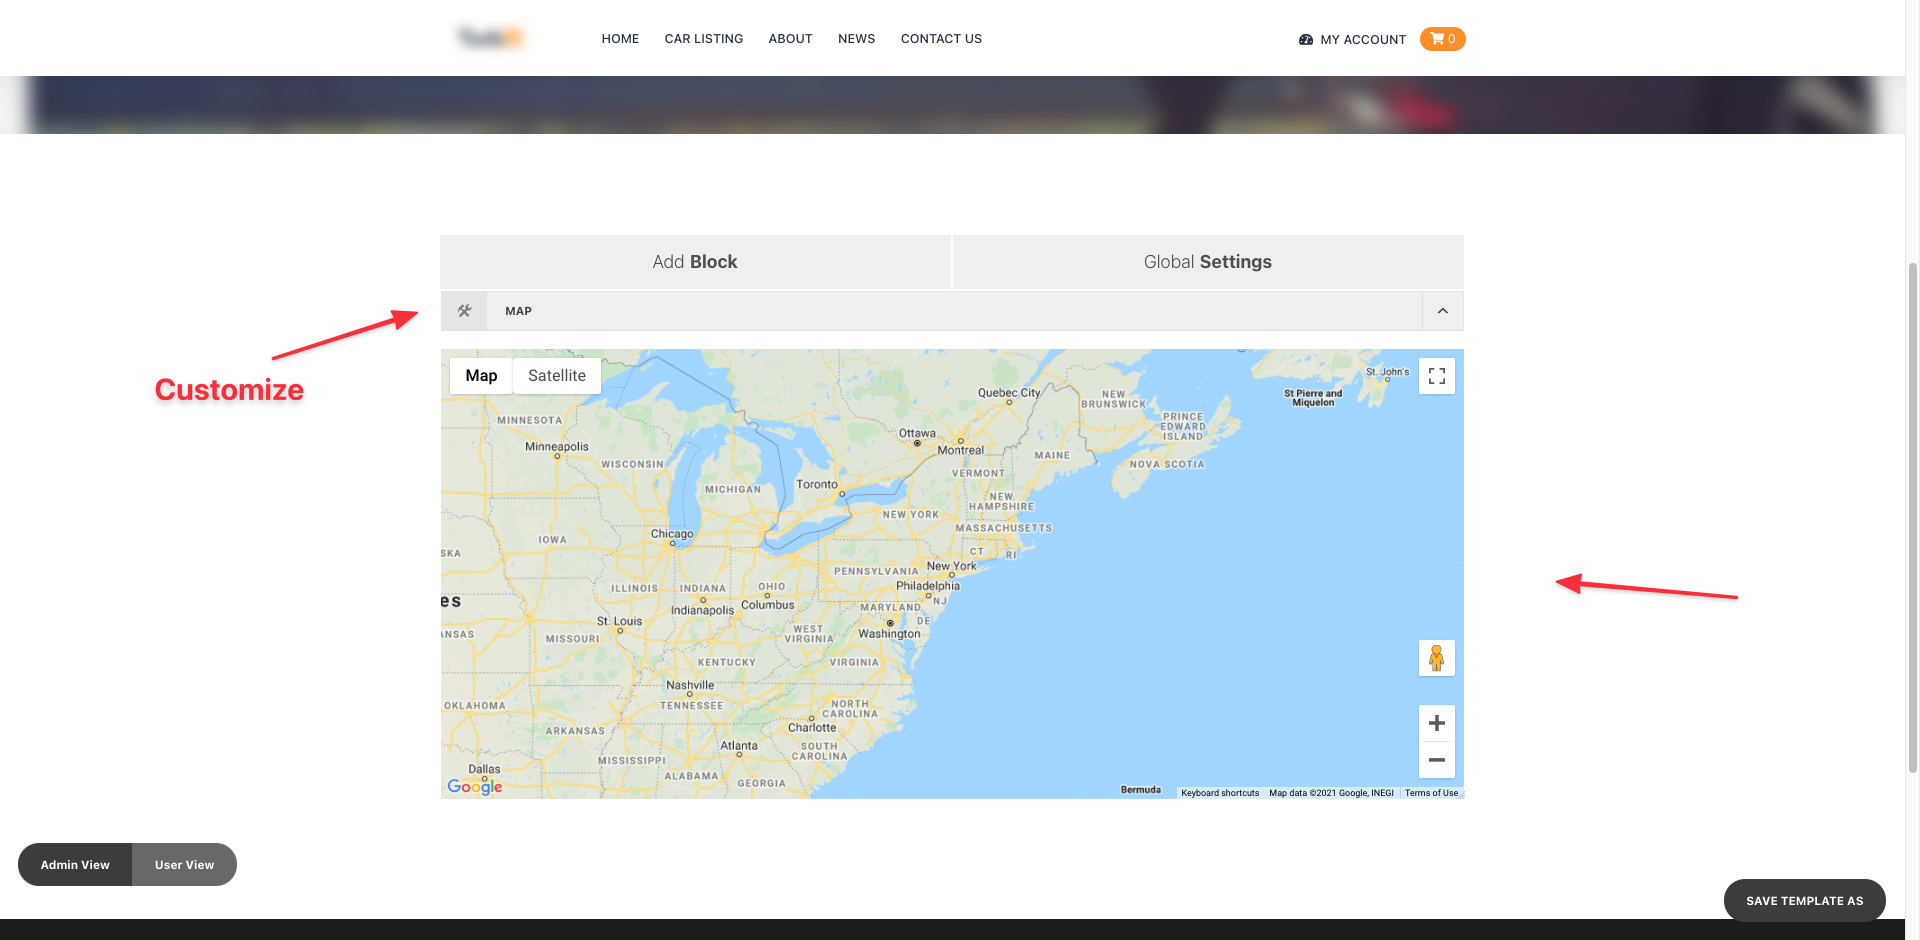
This is the normal view mood of the map. IF You watch something like this, Then you must supply Google Map API Key. We will HIGHLY recommend you to use a tiny small Google Map Loader Plugin ( https://github.com/redq/googlemap). It is like an essential thing because Google Map Loader Plugin asynchronously loads The Google Map API and other things like RichMarker and InfoWindow APIs. Thus improving the performance on the Frontend side.
Normal View:
There is a Edit button given on the Map Block. Few features are provided categorized by three tabs.
- Appearance- Template- Marker Icon
Appearance: The features provided in the Appearance tab are:
- Map Skins: Default Map Skins can be chosen from this option.
- Map Custom Skins(JSON format): Custom Skin can be provided by generating from the link
- Zoom: Set zoom level of the map on the initial render.
- Map Height: Set Map height
- Custom Class: Add any custom class
- Latitude: Latitude of the map center on the initial render.
- Longitude: Longitude of the map center on the initial render.
- Map Skins: Different types of map skins can be set from this option .
Template: The features provided in the Template tab are:
- Map Info Window- Map Marker Icon Holder
Marker Icon: Different types of map markers can be set based on the taxonomy terms. a select picker to set the taxonomy term is provided and An icon picker to set an icon and corresponding to the taxonomy term. A marker custom class can also be provided from the panel.